
DIY Pillar
Install it yourself, with your eyes open.
The complete process, honestly told: what each step takes, which mistakes are expensive, and where a weekend warrior should tap out.
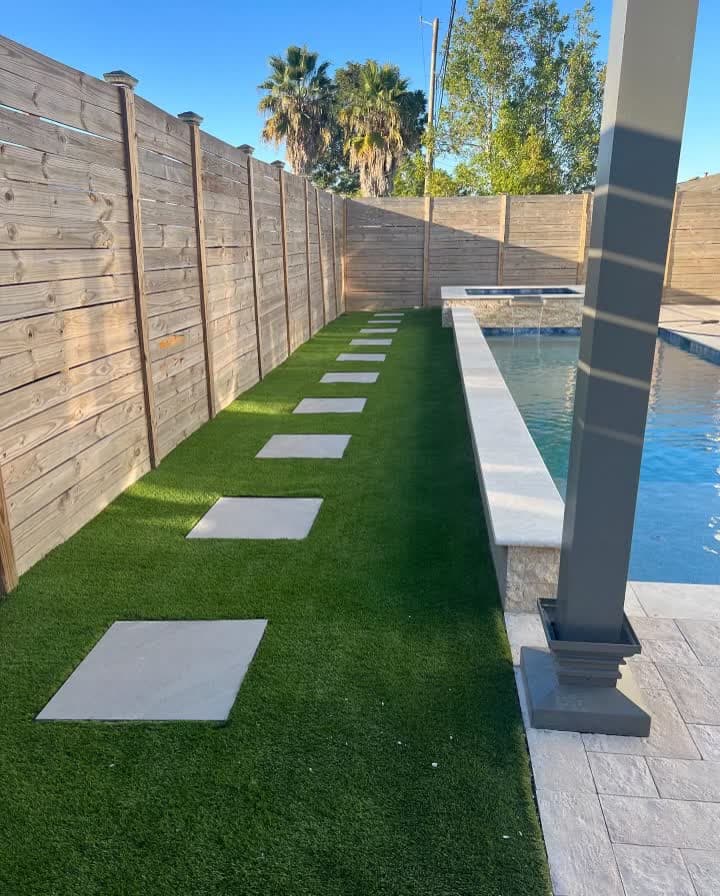 A weekend project done right
Can you actually DIY this?
Honestly: many people can, and many people shouldn’t. A small, flat, rectangular area (a side yard, a dog run, a patio surround) is a legitimate weekend-plus project for someone comfortable with landscape work. A full lawn with slopes, curves, drains, and seams is a professional job wearing a DIY costume; the material is the cheap part of getting it wrong.
What follows is the same step-by-step process our professional installers use. Read it all before you rent anything; step 2 is where the project is actually won or lost.
The gear you’ll need.
Rentals: plate compactor and sod cutter. Purchases: our tool checklist covers the full list, but the critical items are a sharp utility knife with plenty of blades, a drop spreader for infill, and a power broom (rentable) for the final grooming. Materials beyond turf: road base, weed barrier, seam tape and glue, galvanized spikes, and infill to your product’s spec.
After the install: the first month.
Expect the pile to settle and the infill to work down over the first weeks. Brush high-traffic paths against the grain weekly at first. If a seam telegraphs or an edge lifts, fix it immediately while the glue and spikes are easy to supplement. Then it’s just a lawn: rinse, brush occasionally, enjoy.
Step by Step
How to install artificial grass.
Step 01
Plan and measure
Measure the area and order turf with 3–5% overage for cuts and seams. Map roll directions so all fibers face the same way, toward the main viewpoint. Call 811 before digging.
Step 02
Excavate
Remove existing grass and soil to a 3–5 inch depth (sod cutter rental pays for itself). Establish a slight slope away from structures for drainage.
Step 03
Build the base
Lay weed barrier, then 3–4 inches of 1/4-inch road base. Wet it and compact with a plate compactor to roughly 90%, firm enough that a footprint barely registers. This step decides whether your lawn is flat in five years.
Step 04
Position and cut
Roll out turf, let it relax an hour in the sun, then position with fibers all facing one direction. Cut from the backing side with a sharp blade, trimming to edges precisely.
Step 05
Seam
Butt adjacent pieces with fibers aligned, fold back edges, center seam tape, apply glue evenly, and press the edges together carefully, never overlapping backing, never trapping fibers in glue.
Step 06
Secure
Drive galvanized spikes every 8–12 inches around the perimeter and along seams, flush with the backing: snug, not dimpled.
Step 07
Infill and groom
Brush blades upright, spread infill to your product’s spec (listed on every product page) with a drop spreader in multiple passes, and power-broom to settle it down into the pile. Rinse off dust. Done.
Keep Reading
Next in the library.
Plan it tonight: free tools, instant answers.
Measure your yard on satellite imagery, design your space in 3D with any of our turf lines, or just talk to a real person.